Monday, September 30, 2019

An Elegant Lady for an Elegant Lady

The card I have for today I made for my friend's birthday last year.  As it is her birthday again on Friday I thought it was time I posted the pics of last years.  Mind you, I still haven't put up the pics of my nephew's wedding card, and he's been married three years in March, lol.  For today though, here's Andrena's birthday card :-)
This is one of those cards that looked much nicer in real life, I'm sure you know the type I mean, lol.  The cream background paper has a lovely pearl sheen to it.  The "lady" is black velvet... and the black filigree and silver backing the ladies dress up is glittery, the sentiment is too.
The trellis die and the lady die I used were all bought from AliExpress.  The rhinestone trim is from my stash, one of my many "treasures" brought back from Malaysia by my Mum, many happy moons ago
I finished the inside of the card much the same as the outside, the flower dies are MFT Plentiful Petals and the leaves are Sue Wilson Faux Quilled Leaves

Here's a bit of a closeup of the velvet lady....  that velvet paper is all gone now, I only had a scrap and another pic showing the glittery goodness of the black glitter paper 
I added a foam dot and a piece of Card Candi (I have so MUCH of this stuff, lol) to the centre of the flower to finish it off.
That's it for today's card. 
As You Like It has the theme: What is Your Favourite CAS or FAFF, and why... I love "fully loaded" cards, but I just struggle to achieve the look myself.  I like SOME embellies, so this card represents "my" favourite... tending to the CAS, but not exactly CAS


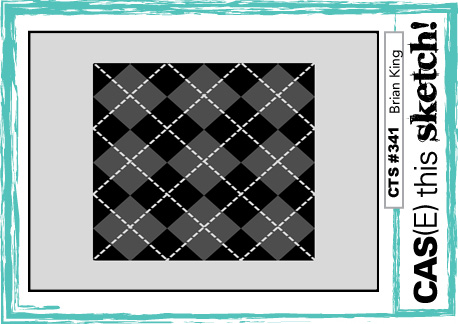
CAS(E) this sketch has this sketch
Addicted to  Stamps For a Lady/Girl
Cute Card Thursday Sentimental
Aud Sentiments Anything Goes + a Sentiment
Happy crafting until next time, Donna

Thursday, September 12, 2019

Dino Baby


Today's card is one I made for my nephew's little boy's first birthday.  He loves dinosaurs, andI loved making this card in a box!

The image is from Cute as a Button, coloured with Prismacolor pencils.  The paper is from a pad I bought in Spotlight … it was as cheap as chips and is REALLY heavy, well printed.  Of course, I bought one pad, and I'm not sure they do it any more, sigh
I cut the balloons from snippets of blue and yellow cardstock - I really do keep the smallest bits, they do come in handy for these "little" embellishments - using a die from Paper Smooches, I added some coloured pencil shading and Glossy Accents for that shine and some baker's twine "strings"
The numeral "1" is a wooden one, coloured up with Star Dust Stickles added.  I had to use a heavier weight acetate to hold it up as it was quite heavy, but it still managed to bob around quite nicely :-)
The grass is cut with Lawn Fawn's Grassy Borders die, the banner is cut with (I think) a MFT die, the little flower is a punch and the pearl in the middle was white, I coloured it with a Copic marker to suit.  The Happy Birthday Sentiment is from Elizabeth Crafts, I beliive.  The gold cord and tiny blue dragonfly are from my stash.
I added a jotting panel to the rear of the card, and the piece of patterned paper at the bottom served as a pocket for the gift voucher we gave him
That's it for today.  I would like to enter in the following challenges:
Tuesday Throwdown Pile it On
Give a Crafter a Cookie
Pixies Snippets Playground Use Snippets (balloons)
Cupcake Inspirations Blue and Yellow
Give a Crafter A Cookie Picture to left... bunting and "Happy Birthday"
Send a Smile for Kids Anything Goes for Kids
I'll try and get back soon... I have had my implant done now, accompanied by my normal EXTREME pre-op anxiety... and the meltdown immediately after when the surgeon told me I could not wear my plate for a week until I had the stitches out and he could look at adjusting it to not interfere with the implant.  
I did not set foot out of the house for the entire week, I found the whole thing distressing and am so glad I am on this side of it.  The pain was minimal (unlike the block graft, which was pretty uncomfortable and the swelling and bruising were quite heavy) but the blow to my self-esteem was surprising even to me, I was completely miserable and felt very low.  Ah well, done now, just got to wait for the final stage of healing... it looks good so far... and in 60 - 90 days I can get the crown made and be done once and for all.  At least I've got my magic plastic back in as of yesterday... soooooo glad about that!
Until next time, Happy Crafting, Donna