Sunday, November 07, 2010

First Anniversary Already!

I can't believe it is my son and daughter-in-law's wedding anniversary already, the time has just FLOWN!
 
This card is one that I helped my Mum make for them, she chose the image because the rose is the same colour as the roses Elaine had in her bouquet, which means they are the same colour as the flowers I made for the wedding cake, a post of which I have never done: that will be rectified very soon! 
This card is another one in the DL format, like the Christmas card I did recently: I said I'd be making more, and it is a nice change to follow through with something!  
The background paper is a soft pink pearl, you can see the shimmer (sort of) in the close up photo.  I embossed it with the "Textile" folder from Cuttlebug as it has a similar pattern to the black paper, which is left over from their wedding invitations and bonbonniere boxes, nice to refer to the wedding in their anniversary card (mum's idea, not mine!).
I applied the sentiment sticker on to pink paper, then cut and embossed it with my oval Nestabilities, matted it on the black paper cut with a Nestabilities Scalloped Oval then stuck that straight to the card.  It's unlike me to not use foam dots, but I wanted the butterfly (cut from scraps using my NEW and lovely butterfly punch from Martha Stewart) to stand out, so the rest of the card needed to be "flatter".  The body of the butterfly is a string of crystals, I cut the top one close to the edge of the next crystal so the the string was left to look like antenna - just in case you thought I just did a cr**py job of cutting, lol!
I think I'll enter this card in the Flutter By Wednesdays challenge for this week, it has an "open" theme and of course it has a butterfly on it!  I had a trawl around but couldn't really find any other challenges it would suit - never mind there are always more cards in the cosmos just waiting to be created!
I have made a card for Matt & Elaine's anniversary also, which I will upload to the computer later and will "do" a post on then; time is tight as work is mad at the moment- we are in the "silly season" for swimming pools, now until Christmas.  Have a good one, Dee

Sunday, October 31, 2010

45 and Fabulous

This is a birthday card for our friend Andrena who is turning 45, sweet young thing!  The sentiment says "45 and Fabulous......Has a certain ring to it, don't you think?"


I've used a Kenny K digi image "Movie Star" from their shop, and am entering their challenge for this week with the theme "2x2".  I have 2 of a lot!  2 plain papers, 2 patterned papers, 2 lots of embellishments (each of two stars of each colour) 2 corners and whatever else you can see!  The image is coloured with a combination of Copic markers and pigment inks.  The sentiment is computer generated.
The card is white with a square of textured black paper, it 's like crocodile skin!  The stripy paper is Doodlbug Designs and the purple mat the image is on is from Kaisercrafts Lilac Avenue 9" collection.  The orange is from DCWV, I think the Brights mat stack.  
It is going in to another couple of challenges too; Sketch and Stash, which is where I got the great sketch from,( it's #47), also Simon Says Stamp's challenge "Punch 'em": I used my Labels Four Nestabilities to cut the mat, and a punch I have had for ages and NEVER used for the stars, which I embossed with glitter - which of course doesn't show in the photo! 
I got the colour inspiration "Purple Orange Black"  from Flutterby Wednesday then I forgot the fundamental butterfly on it, so it won't be getting entered there after all!!  Still, great colours.  
I've given my movie star eyeshadow using the technique featured on Color Me Copic, this is a great tutorial and I'll be using it on my ladies where appropriate in future.  I used a watered down version as I was a bit timid this first time, but as long as you use a light hand - easy peasy!

Friday, October 29, 2010

Santa Emma's Sitting Pretty

Today's Christmas card is in the DL format, which I haven't used before but actually found very usable.  You also know that they post at standard rate!!
I used the digital version of "Santa Emma" from CC Designs Sugarplums collection, available at All That Scraps and Tickled Pink Stamps.  I use digis A LOT - I love them - sizable, flippable and so easy to both store and clean !!  I used Copic and Bic markers to colour the image and also the "Christmas" stamp which is from Xtra stamps.  The Xpress It paper I'm now printing my images on is so superior to any other cardstock I've used, I will never use anything else (unless absolutely desperate of course!)  It just seems to take the colour better without the bleeding that I've had on other paper.  Even though it's a bit pricey it's good value really as you don't waste botched images all the time
The snowflake paper is from a pack I got from my sister when she had a clear out a few years ago.  I found it in my stash last week, about 100 sheets in total - some of which will definitely feature in my Christmas cards this year, and as I'm somewhat of a tight wad, how happy am I? Can't get any cheaper than free!
The border paper that Emma is sitting on is from My Memories, the dots and the stripes have glitter on them, as does Emma's fur trim and the edge of the oval (cut and embossed with my oval Nestabilities, then inked up with green pigment ink) with the word "Merry" on it.  All this glitter qualifies the card for entry to the Totally Gorjuss challenge for this week with the theme "sparkle".  There really is a lot of sparkle here, I only wish I could get it to show in the photos!  The spots and stripes on the card fit in with the  Allsorts Challenge this week, so hopefully I'll remember to enter it this time (I was too late for a couple of challenges last week).                       Hope you enjoyed today's offering, I had fun making it and that's two Christmas cards done, yay!  Happy crafting, Dee.

Wednesday, October 27, 2010

A Hundred Thank You Notes

If one "thank you" note says "Thanks", what does a notepad of a hundred say?  This Post-It note and pen holder has a magnet on the back so it can sit on the refrigerator - handy for shopping lists and of course it still fits in your handbag nicely where it is handy for EVERYTHING!!


This project is going in a few challenges: All That Scraps Wednesday Challenge had "make a magnet" as the theme this week.  Hopefully this project, with its magnet on the back, qualifies.  I am also entering it in the Stamp Something challenge for this week "use a digi".......as I use digital stamps 99% of the time - that was EASY!!  Sweet Stampin' has an "Anything But a Card" challenge so guess where my little Post-it Note holder is going:-)
I was going to enter Flutter By Wednesdays challenge for this week, which was anything goes, and the Simon Says Stamp Challenge with the theme "thanks"- but I got distracted when I was typing up my blog and didn't get it entered in time - ME STOOPID!
The cardstock that  the Post-It note holder is made from is from the Die Cuts With a View "Mariposa" collection, I am loving it and it is so much more versatile than I thought it would be when I got it. I used the basics of a template from Dawn Griffith I saw on YouTube, but I had to metricate it as I don't even own a ruler with inches on anymore!!  It took longer to convert (even using an online converter) than to do one from scratch - so I have made a metric version.  I'll put it in my Tutorials and Templates  page when I've tidied it up a bit. The pen came from BigW in a pack of ten, they are gel pens and multicoloured - I wish I could get some black ones, but that is proving impossible here.
I used a strip of gold metallic card (some people know it as Mirri or Mirror Board, I think) punched with Fiskars Apron Lace border punch for Emma to sit on -she needed a seat or she appeared to just "float"- the red polka dot ribbon is from my stash.  
I have used the digital stamp Rose Emma from CC Designs Sugarplums "Take a Seat" collection, available at All That Scraps, coloured her with Copic and Bic markers (I have ordered some more Copics, so the colouring should get easier and my palette broader, soon!) I cut her out and pop dotted her in place.  The sentiment is made up of gold letter stickers.
I'll be making more of these - they are really easy, quick and use offcuts, YAY, I always have offcuts- don't we all!  What's more, they can be as cute or elegant or masculine as you like - very versatile.
Happy crafting, Dee


Monday, October 25, 2010

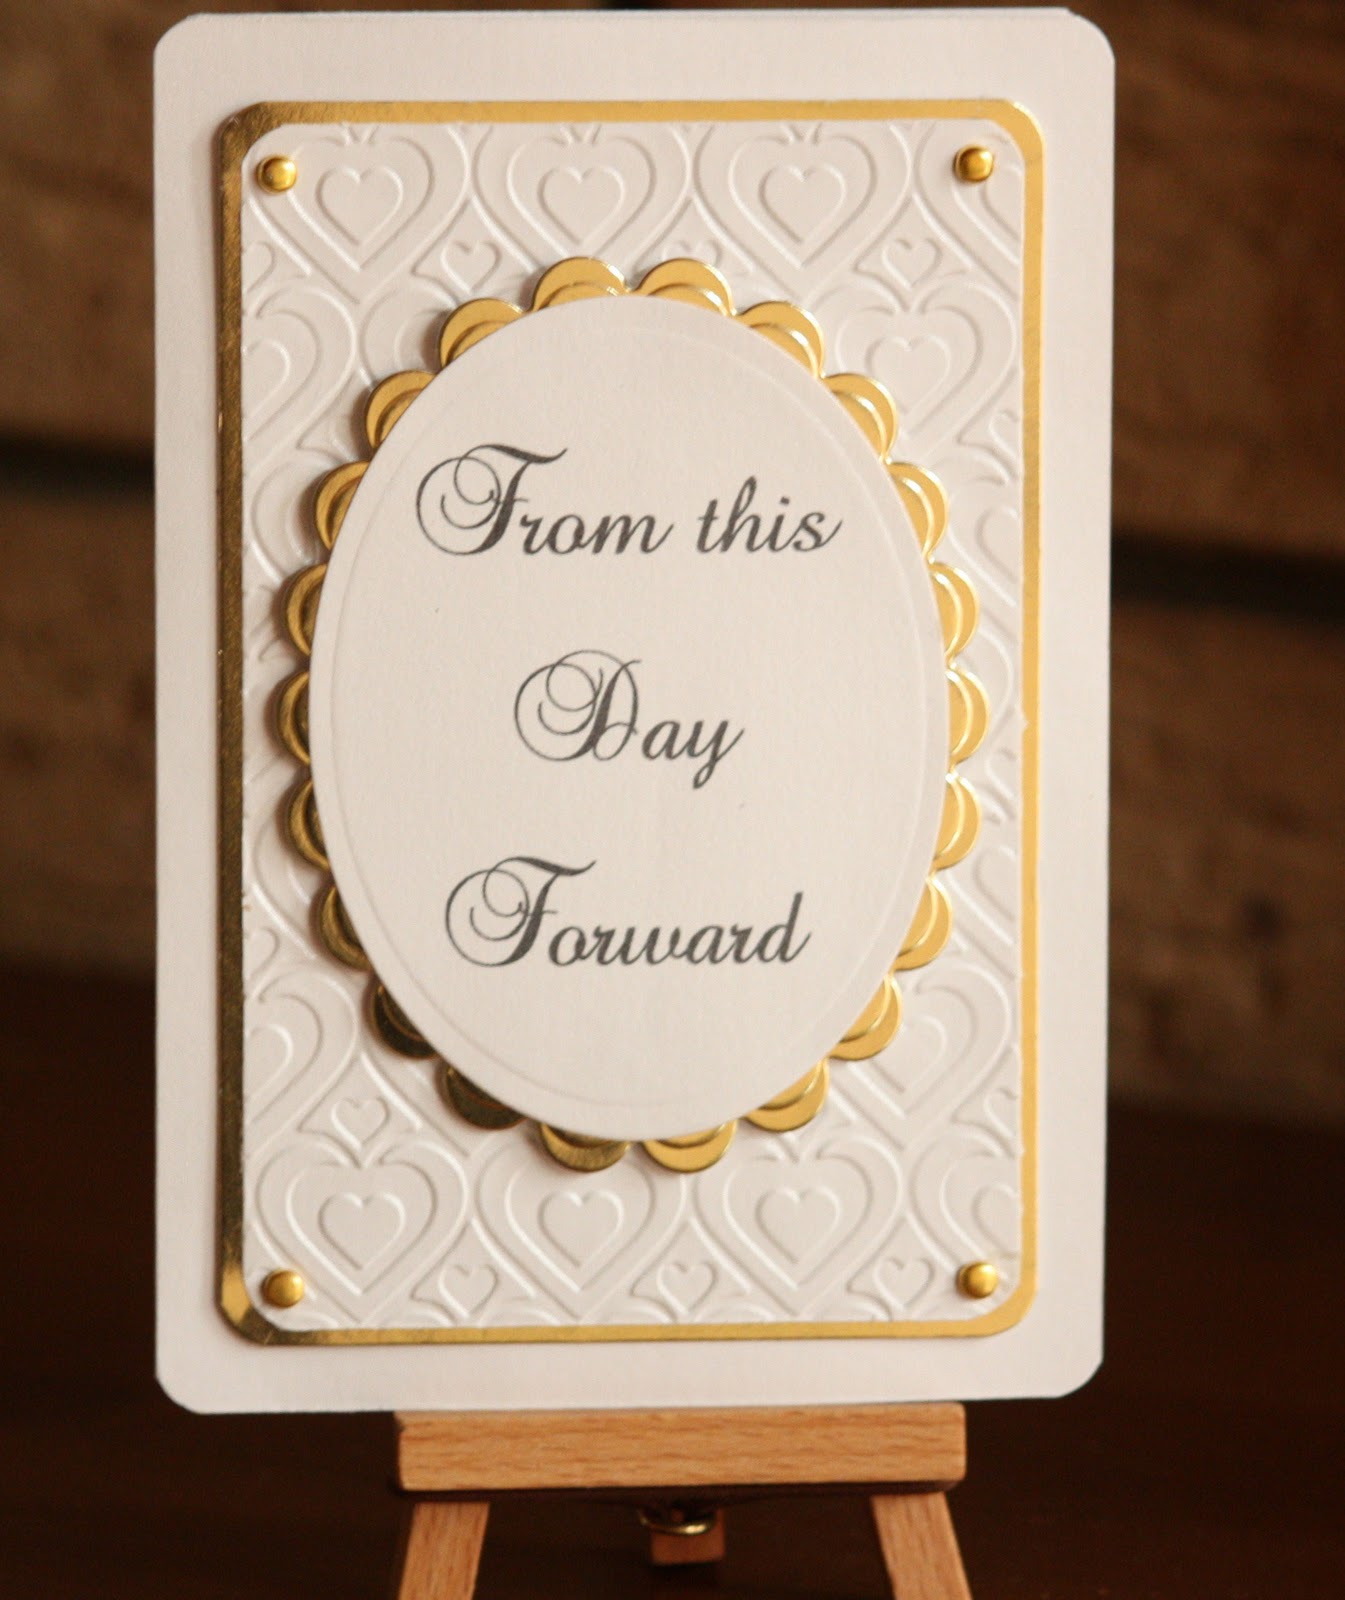
Wedding Wishes

This card is one I did for my son's friend Sue-Lyn who got married on the weekend.  It is just a simple card, but I think it has an elegance to it that is appropriate for Sue, who is that rare combination of elegance and sweetness.
It is an off white pearl card, the centre panel is embossed with the "Kimmie Luvs" embossing folder from Cuttlebug then mounted on gold metallic board.  The sentiment is computer generated printed on the pearl paper (note to self: ink takes a bit longer to dry on pearlised paper, so don't handle it until dry or you will have to reprint it - possibly twice if you are slow on the uptake ho hum) and cut out and embossed using my oval Nestabilities, mounted on gold board also cut and embossed with Nestabilities - scalloped ovals.  
The gold brads in the corners help tie it together, I did try crystal brads but they somehow looked "wrong".
So here's to the Bride and Groom, I hope they have long life and happiness together.  
Incidentally that is the one of the greatest compliments my husband ever paid to me: He is not a natural public speaker, quite shy really, and when giving a speech as Best Man at a wedding he said he wished the couple the sort of happiness he had found in his marriage to his lovely wife- me (aahhh, brought a tear to MY eye, and still does because I know how difficult it is for him to bring attention to "him and his").
Anyway, enough of the soggy stuff, got to go and do my hubbys laundry, lol

Wednesday, October 20, 2010

I saved the last flower for you

Butterfly Birgitta seems to be offering her little butterfly friend the last flower of summer in this card.
I made it in response to a couple of challenges; Flutter By Wednesdays challenge # 126 had the theme "Fall" so I used my favourite autumnal colours with a mix of Copic and Bic markers.  As usual with Flutterbys challenges, there has to be a butterfly or fairy used; this card uses CC Designs Swiss Pixies "Butterfly Birgitta" (the clues in the name!) available from All That Scraps and Australian supplier Tickled Pink Stamps, as well as my lovely new paper covered in glittery butterflies from the DCWV Mariposa collection .
Allsorts Challenge Blog  Challenge#74

I used the sketch from Sketch and Stash for their challenge # 46, so I'll be entering this card there too.  It was a great sketch to work with. I made the five strips of patterned paper 2cm wide each and stamped and embossed with Kaisercraft pigment ink "Antique Blue" using Fiskars Filigree Borders stamp on the card in between each strip.  The paper has a slightly distressed look, so the stamping being a bit patchy looked fine -  as if it were designed that way (well, of course it was! not)
Allsorts had a bingo challenge this week (challenge # 74) I used the "Punch Flower Pearls" line.  I used my oval Nestabilities in place of a punch, so I hope it qualifies.  The pearls have been in my stash for so long, I can't remember where I got them.  I didn't think I'd  use the blueish ones on this card, but they go with the flowers which I coloured up with the pigment ink I did the stamping with, I used orange brads in the centres to tie it together.  I couldn't get any leaves so I copic-coloured a flower I got as a freebie with an order, then cut it into petals - I think it makes much better leaves than it did a flower, so I'm rapt!  So my little offering will be going into that challenge too!  A tri challenge card, gee I'm getting good (makes up for missing the deadline with my Rainbow Emma card!)  
This close up photo shows (though not very well) the glitter I embossed on Birgitta's wings and the butterfly, it helped tie the image in with the background paper, which has quite a glittery finish.
Whew, that is one long post!  Hope you stayed awake to the end, see you soon, Dee.